
Last updated October 16, 2026
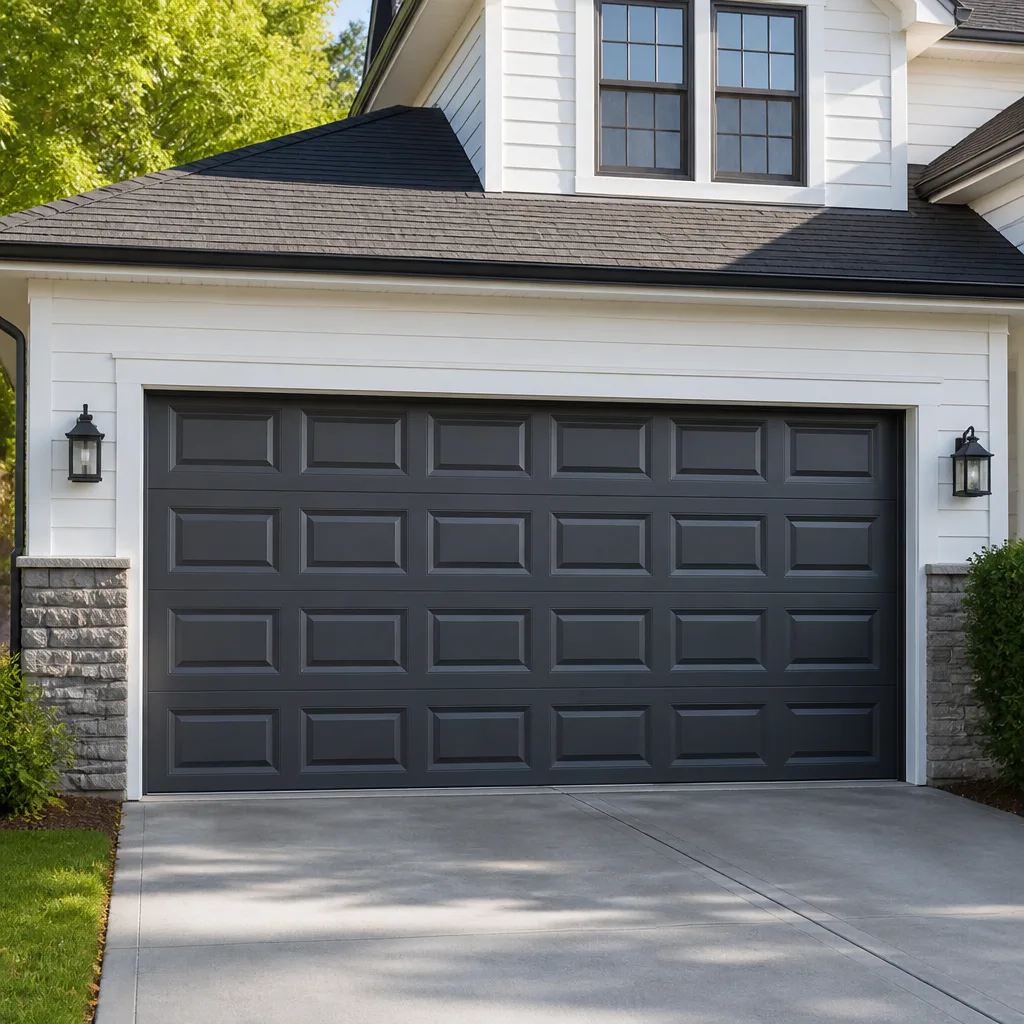 Raised-panel steel
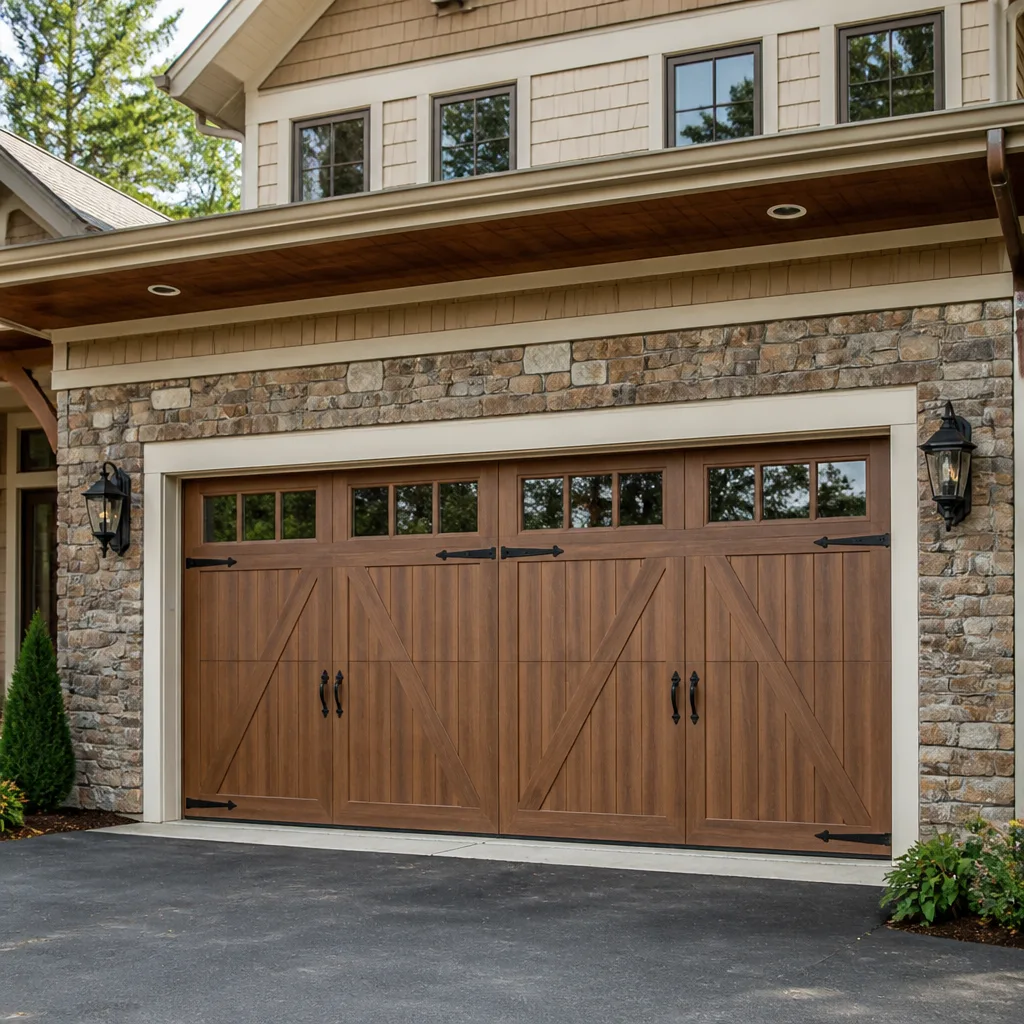 Carriage house
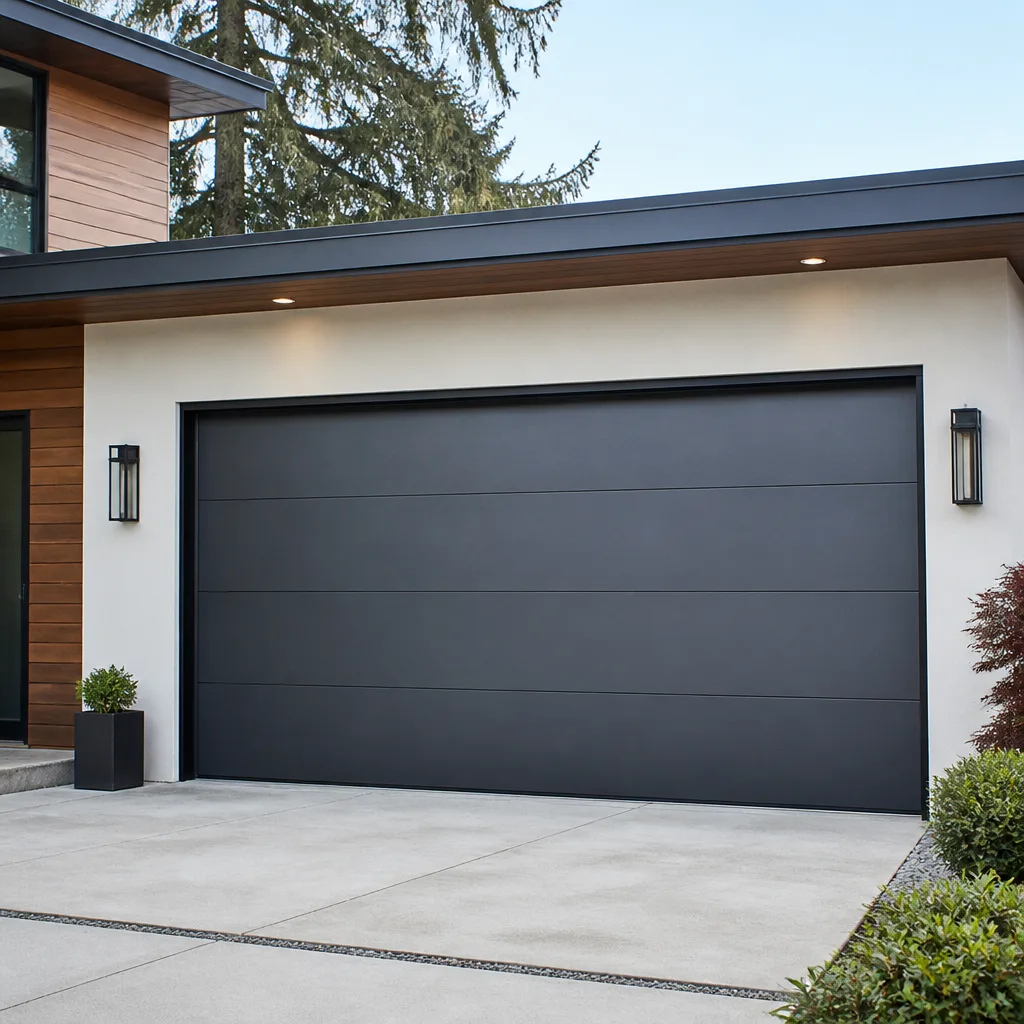 Modern flush
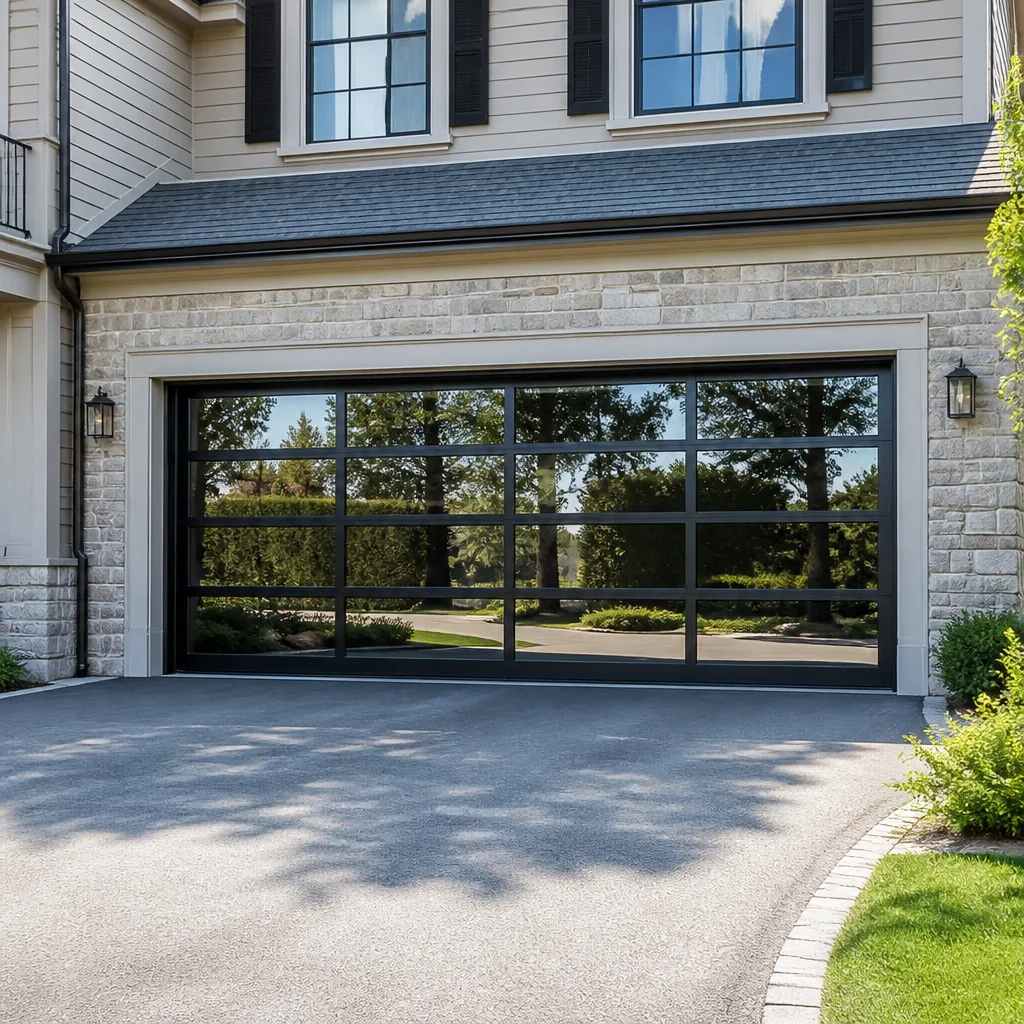 Full-view glass
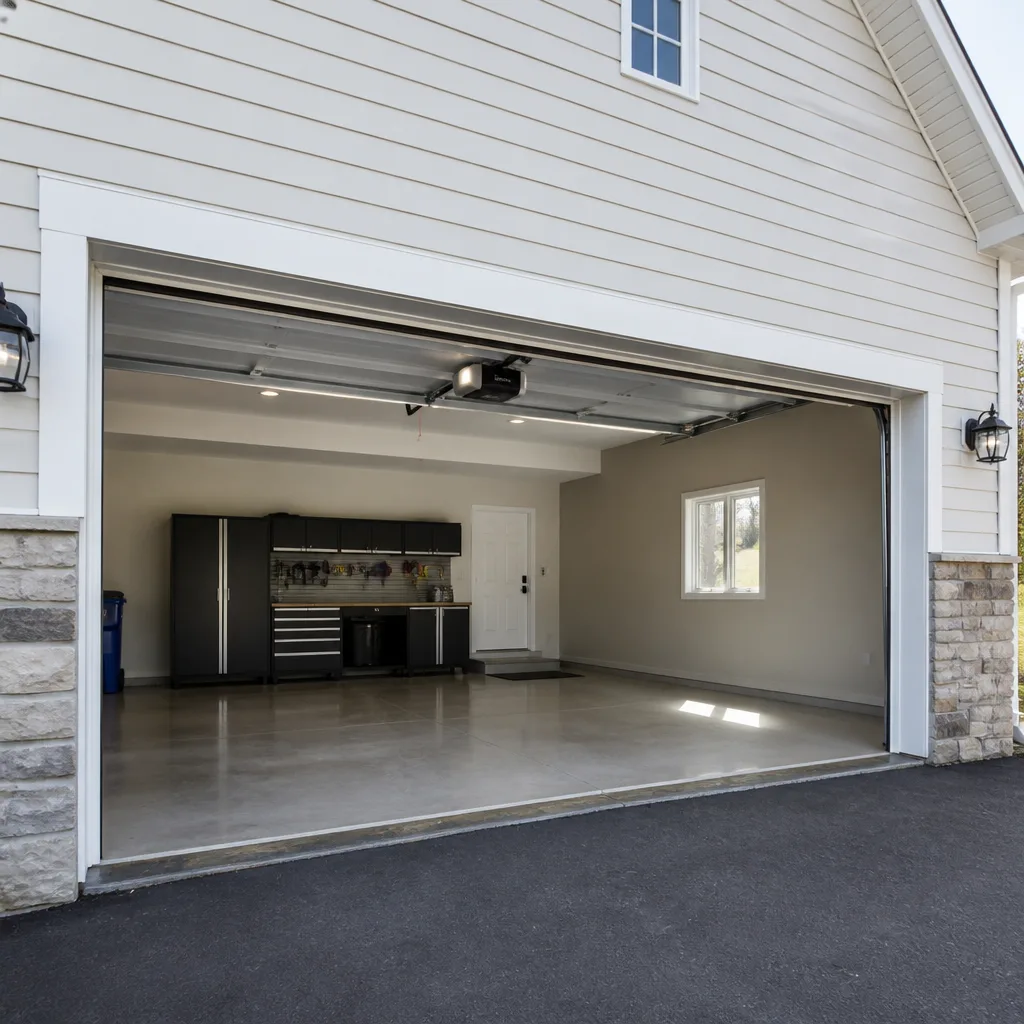 LiftMaster openers
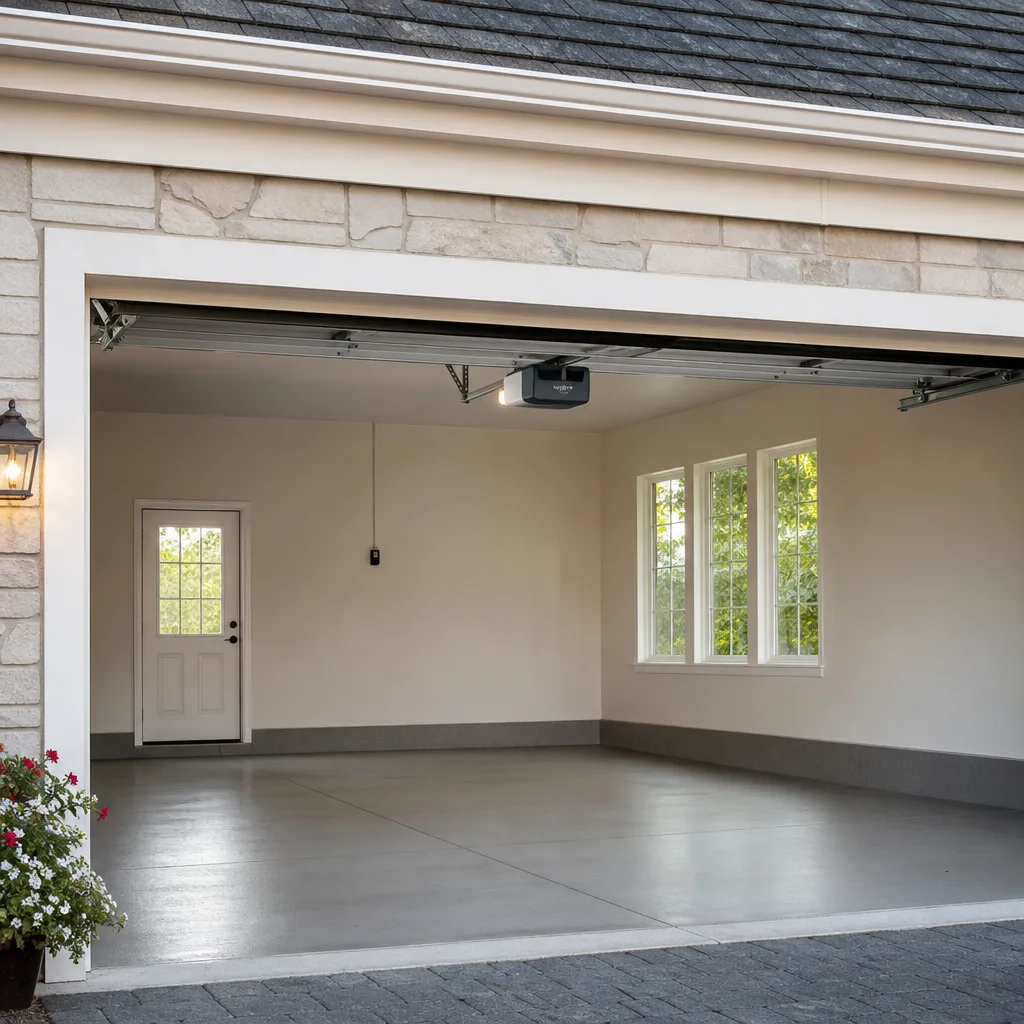 Chamberlain openers
Full 25-point door and opener safety check with every visit - springs, cables, rollers, tracks, and your LiftMaster or Chamberlain opener included
You get a price before we start. It does not change when the truck arrives.
Get your free estimateDIY vs Professional Garage Door: The Fort Worth Homeowner’s Decision Guide
The average American garage door weighs between 130 and 400 pounds, travels up and down roughly 1,500 times a year, and is held under tension by springs engineered to counterbalance every one of those pounds. When a Fort Worth homeowner opens YouTube and sees a 12-minute video titled “Replace Your Garage Door Spring in 5 Easy Steps,” what they’re not seeing is the part where the winding bar slips and the spring unloads 150 foot-pounds of stored energy into whatever happens to be in the way. This guide walks through exactly which garage door tasks a competent homeowner can handle safely, which ones carry a risk floor no amount of preparation removes, and how to decide where the line sits for your specific situation in Fort Worth.
Quick Answer
Most garage door maintenance tasks, including lubrication, sensor realignment, weatherstripping replacement, and remote programming, are safe and reasonable for a Fort Worth homeowner to handle with basic tools-see our Garage Door Repair Maintenance Checklist for Fort Worth Homeowners for a complete rundown. Torsion spring replacement, cable repair, and any work involving the door’s counterbalance system should be left to a trained professional because the stored energy in those components can cause serious injury or death if released improperly. The honest DIY-versus-professional decision comes down to one question: does the task involve the spring system or the lift cables? If yes, call someone who does this every day.
Styles & brands we work with
Table of Contents
- The Task-by-Task Breakdown: What’s Safe and What Isn’t
- The Physics of a Loaded Torsion Spring, Explained Plainly
- The True Cost of DIY: What You’re Actually Saving
- The Fort Worth Liability Angle: Insurance, Injury, and Unpermitted Work
- The Middle Path: Prep Work That Reduces Your Bill
- Tool Reality Check: What’s Already in Your Garage
- Brand-Specific Repair Notes for Fort Worth Homes
- Common Mistakes to Avoid
- When to Call a Professional
- Frequently Asked Questions
The Task-by-Task Breakdown: What’s Safe and What Isn’t
Not all garage door work belongs in the same category. A homeowner who would be foolish to touch a torsion spring might be perfectly capable of replacing a weather seal in an afternoon. The distinction matters because treating every repair as either “call someone” or “do it yourself” ignores how different these tasks actually are.
Here’s the breakdown we use when Fort Worth homeowners call us asking whether something is worth doing themselves:
Safe for a Competent Homeowner
- Lubrication: Spraying white lithium grease on hinges, rollers, and the opener chain takes 15 minutes and requires no disassembly. Use a silicone-based lubricant on nylon rollers and avoid WD-40, which displaces grease rather than replacing it.
- Sensor realignment: Photo-eye sensors near the bottom of the door tracks get bumped by lawn equipment, bikes, and trash cans. If both sensors show steady lights but the door reverses immediately, loosening the wing nut and re-aiming the sensor so both lights glow solid is a 5-minute fix.
- Weatherstripping replacement: The rubber seal along the bottom of the door degrades in Fort Worth’s summer heat and lets dust, rain, and the occasional scorpion into the garage. Replacement weatherstripping costs $15-$30 at any hardware store and slides into the channel without tools.
- Remote and keypad programming: LiftMaster, Chamberlain, and Genie all publish step-by-step programming instructions specific to their model numbers. If you can find your opener’s model number on the back of the motor housing, you can program a new remote in under 10 minutes.
- Track cleaning: Wipe down the vertical and horizontal tracks with a dry rag and remove obvious debris. Do not bend, hammer, or file the tracks. If the track itself is damaged, that’s a different job.
Requires Professional Hands, Regardless of Experience
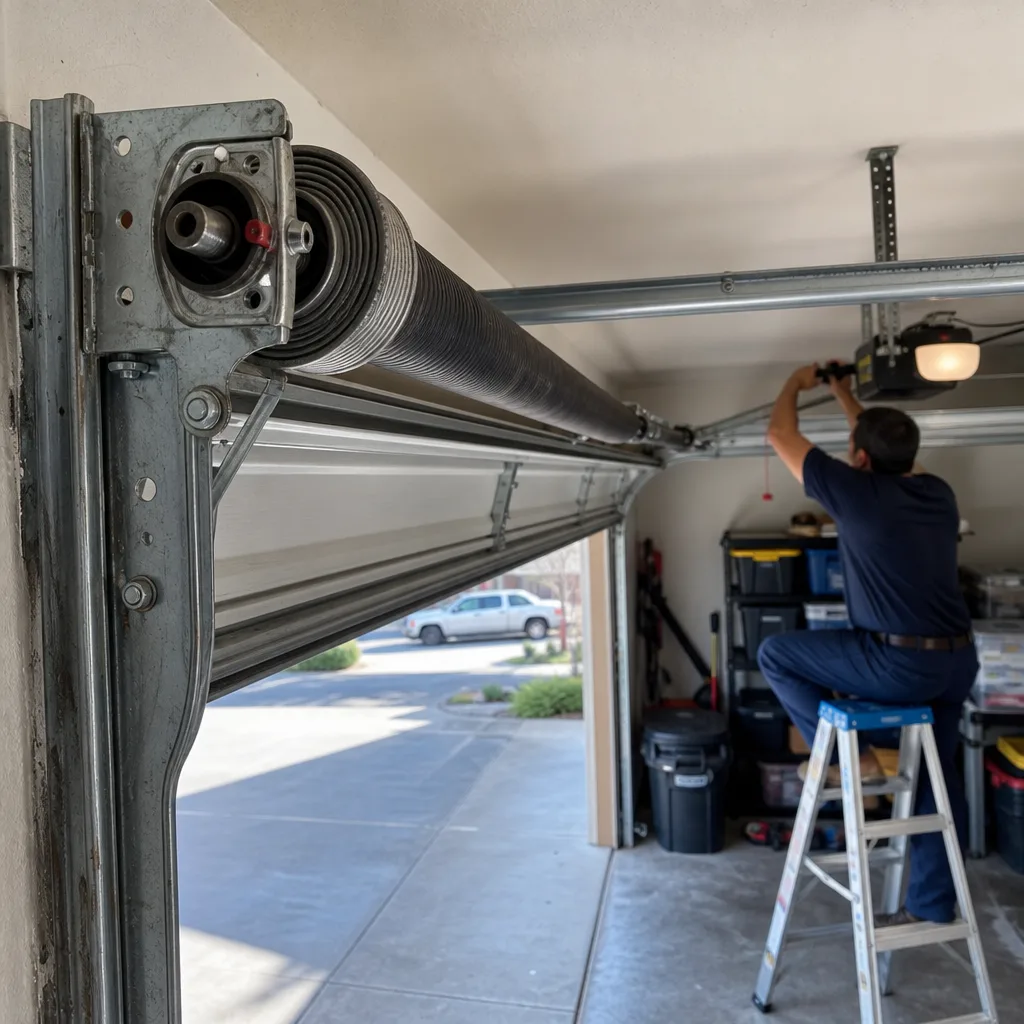
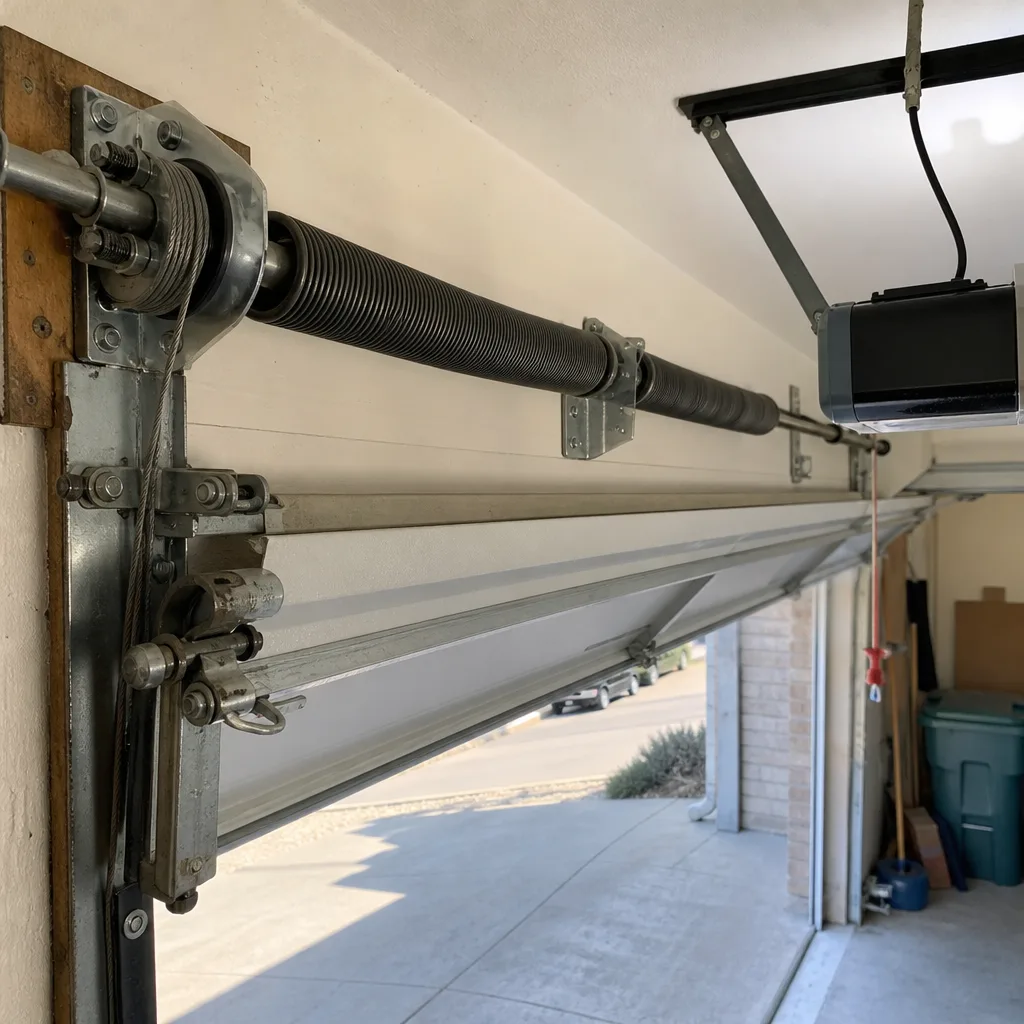
- Torsion spring replacement: The spring mounted on the bar above the door stores enough energy to lift the entire door. When it breaks, it unloads that energy instantly. Winding and unwinding a spring requires specialized bars, an understanding of spring wire gauge and diameter, and the ability to read the door’s balance in real time. Get this wrong and the spring takes a finger, a hand, or worse.
- Extension spring replacement: Older Fort Worth homes, particularly those built before 1990 in neighborhoods like Ridglea and Wedgwood, often have extension springs running along the horizontal tracks. These must be replaced in pairs and require a safety cable run through the center of each spring and anchored to the wall. Skip the safety cable and a broken spring becomes a missile that can take out a car windshield or a person standing in the wrong spot.
- Cable replacement: The lift cables connect the bottom brackets to the spring system and run through pulleys under constant tension. A frayed cable can snap without warning, and replacing one requires releasing and re-tensioning the spring system, meaning you’re back to the risk floor from the first bullet.
- Track replacement or realignment: Bent tracks require knowing exactly what the vertical-to-horizontal radius must be for your specific door weight and spring configuration. A misaligned track can bind the door mid-cycle and pull the cables off their drums, which sends the door crashing down.
- Opener motor replacement: If the motor itself has failed rather than a simple gear or capacitor, you’re dealing with 120-volt wiring inside the unit. The work requires a licensed understanding of household electrical, and a mistake can energize the door frame.
The pattern is consistent: tasks that involve the door’s counterbalance system, which includes torsion springs, extension springs, cables, drums, and bottom brackets, sit on the professional side of the line regardless of a homeowner’s mechanical aptitude. The components themselves do not care how many YouTube videos you’ve watched. Our garage door repair team in Fort Worth sees the aftermath of attempted spring work regularly, and it’s rarely a conversation anyone wants to have.
The Physics of a Loaded Torsion Spring, Explained Plainly
Every time you open your garage door, you’re not actually lifting 200 pounds. The torsion spring is. The spring stores mechanical energy by twisting, and that stored energy is what counterbalances the door’s weight, making it feel light enough for a small motor or a single arm to raise.
Here’s what’s actually happening, in numbers:
- A standard residential torsion spring on a 16-foot-wide, 7-foot-tall door is wound to hold approximately 90 to 160 foot-pounds of torque depending on the door’s weight and the spring’s dimensions. For reference, a 5-pound sledgehammer swung hard delivers about 60 foot-pounds at impact.
- When the spring breaks, it does not “snap” like a rubber band. The break itself is often audible from inside the house, a sound like a gunshot, and if you’re standing in the garage when it happens, the broken spring halves spin violently in opposite directions as they release the remaining torque.
- The danger during repair is winding the new spring. A torsion spring must be wound by hand using two 18-inch winding bars inserted sequentially into the spring’s winding cone. Each quarter-turn adds tension. A residential spring typically requires 28 to 34 quarter-turns per spring to reach the correct setting. At any point in that process, if a bar slips out of the cone, the stored energy releases through the bar itself, turning it into a projectile traveling at over 100 miles per hour.
- The National Electronic Injury Surveillance System consistently ranks garage door spring-related injuries among the top causes of home workshop emergency room visits. The estimated 20,000 ER visits per year from garage door spring incidents aren’t all professionals getting careless on the job. A good portion are homeowners who made it most of the way through the winding process before something went wrong.
We explain this not to scare anyone but to make the physics legible. A torsion spring is not a task where you make a small mistake and learn a lesson. It’s a task where a small mistake is measured in reconstructive surgery. And in our experience, homeowners who understand the actual mechanism of the danger make better decisions than those who just hear “don’t touch it” and assume the warning is overblown.
Our opener repair work in Fort Worth frequently involves doors where a homeowner attempted a spring adjustment that threw the balance off, which then burned out the opener motor because the door suddenly weighed three times what the motor was sized to handle. The spring problem became an opener problem, which then became two invoices instead of one.
The True Cost of DIY: What You’re Actually Saving
The sticker-price comparison is the easiest way to fool yourself. A pair of torsion springs costs $90 to $180 at retail. A professional spring replacement in Fort Worth runs $280 to $450 including parts. On the surface, DIY saves $200 to $300. Here’s what the surface-level math misses.
Line-by-Line DIY Cost Calculation
- Springs at retail: $90 – $180 for a pair. Note that big-box stores stock a limited range of wire gauges and lengths. If your door needs an uncommon size, you’re ordering online and waiting, or installing the wrong spring and accepting poor balance and premature failure.
- Winding bars: $20 – $40 for proper 18-inch hardened steel bars. Using screwdrivers or rebar substitutes is how the ER stories start.
- Other tools: $15 – $40 for a socket set you may already own, a vise grip, and a level. Assume at least one purchase you didn’t plan for.
- Time: A first-time spring replacement typically takes 3 to 6 hours including YouTube research, two trips to the hardware store, and the actual work. If you value your time at $25 an hour, that’s $75 to $150 of labor you’re donating to the project.
- Risk of failure: If the door ends up unbalanced, the spring under-wound, or the cables on the wrong side of the drum, a professional fix afterward costs $150 to $250 above the standard rate because the tech is now diagnosing and correcting a botched install, not doing a clean replacement.
Add it up and the realistic savings on a spring replacement is closer to $50 to $150, not $300. For that savings, you’re accepting a genuine risk of serious injury and a meaningful chance of a second professional visit. In Fort Worth, where a professional repair includes a written price before work starts and a warranty that covers the part and labor, the margin gets thinner still.
Now run the same calculation for lubrication, weatherstripping, or sensor alignment. Those tasks genuinely are 10 to 30 minutes, require tools you already own, and carry no meaningful risk. The DIY savings on those is real and worth doing. The point of the analysis isn’t that DIY always loses; it’s that DIY wins on low-risk maintenance and loses on high-risk repair, and the math doesn’t reverse no matter how you adjust the variables.
Cost Comparison Table
| Task | Typical DIY Cost (Parts + Tools) | Typical Fort Worth Professional Cost | Realistic DIY Savings |
|---|---|---|---|
| Lubrication | $8 – $15 | $75 – $125 | $60 – $110 |
| Weatherstripping | $15 – $30 | $85 – $140 | $55 – $110 |
| Sensor realignment | $0 | $65 – $95 | $65 – $95 |
| Remote programming | $0 | $45 – $75 | $45 – $75 |
| Extension spring pair | $60 – $120 + tools | $240 – $360 | $100 – $180 (moderate risk) |
| Torsion spring pair | $90 – $180 + tools | $280 – $450 | $50 – $150 (high risk) |
| Cable replacement | $25 – $50 + tools | $150 – $275 | $40 – $100 (high risk) |
The pattern holds: the higher the risk, the lower the real savings. The lower the risk, the more DIY makes sense. This isn’t ideology. It’s arithmetic.
The Fort Worth Liability Angle: Insurance, Injury, and Unpermitted Work
This is the section most online guides skip, and it’s the one that matters most for Texas homeowners specifically. What happens after the repair attempt, if something goes wrong, has a local legal reality that differs from what a generic article assumes.
Homeowners Insurance and Self-Performed Work
Most standard Texas homeowners insurance policies cover sudden and accidental damage to the structure and liability for injuries sustained by others on the property. What they don’t cover with the same generosity is damage or injury arising from work you performed yourself, particularly if a reasonable person would have hired a professional and the insurer can argue your action was negligent.
Here’s the scenario we’ve seen play out: a Fort Worth homeowner replaces a torsion spring, the door falls three weeks later because the spring was under-wound and the cables slipped, and the door lands on a car or a person. The insurer investigates. The adjuster asks who installed the spring. The answer is “I did.” The claim gets complicated. If the injury is to a family member, the liability portion of the policy may not respond at all. If the damage is to the house, the insurer may pay but then non-renew the policy. Texas is a comparative negligence state, which means your DIY installation can be framed as your percentage of fault, reducing what the insurer pays.
When a licensed and insured garage door company performs the work and something goes wrong, the company’s liability insurance is the first line of defense. You don’t have to explain to your own carrier why you were the one turning the winding bars. The claim doesn’t land on your record.
Fort Worth Code Enforcement
Fort Worth follows the 2021 International Residential Code with local amendments. Garage door installations and spring work don’t generally require a permit for repair, but a full door replacement or a conversion from a manual door to an automatic opener can trigger inspection requirements depending on the scope. For details, see Garage Door Permits, Codes & Inspections in TX: What You Need to Know. More practically, a door that fails because of improper spring work can violate the IRC’s requirement that garage doors be “listed and labeled” for the application and installed to manufacturer specifications. If an inspection is ever triggered by a home sale or a claim, a non-compliant repair becomes something you have to fix before closing.
Who’s Really on the Hook
The short version: when you do the repair yourself, you’re the manufacturer, the installer, the warranty provider, and the liable party. When a professional does it, all four of those roles belong to someone with insurance and a written obligation to fix what breaks. That’s not an argument for never DIYing anything. It’s an argument for understanding which tasks transfer liability in a way that’s worth paying for. Cable repair in Fort Worth is exactly the kind of job where a $175 professional fix beats a $40 DIY attempt followed by an insurance conversation.
The Middle Path: Prep Work That Reduces Your Bill
Most “DIY vs professional” conversations assume an either-or choice. You either do the whole job yourself or you write a check and think about it never again. But there’s a middle path that many Fort Worth homeowners miss, and it’s where the smartest money gets saved.
Certain tasks can be partially completed by a homeowner before the technician arrives, which reduces billable time without putting you anywhere near a loaded spring. Here’s what that looks like:
- Clean the tracks and the sensor lenses: Before calling about a door that reverses or binds, take 10 minutes to wipe the tracks with a rag and clean the photo-eye sensor lenses with a dry cloth. If the problem persists, the tech’s diagnostic time starts from a clean baseline. You just saved 15 to 20 minutes of labor.
- Locate and record your opener’s model number: The model number is usually on a label on the back or side of the motor housing. Writing it down or taking a photo before the tech arrives saves diagnostic time and ensures the right parts are on the truck.
- Clear the area around the door: Moving bikes, boxes, and yard equipment away from the door footprint means the technician can set up immediately instead of clearing a workspace. At $80 to $120 per hour of labor, every 10 minutes you save is $13 to $20 off the invoice.
- Test and document the symptom: Does the door only fail when it’s cold? Does it reverse at the same spot every time? Does the opener make a grinding noise or a humming noise? Writing down exactly what happens and when it happens is classic diagnostic prep.
- Know your spring type: Look above your door. A spring running along the bar over the header is a torsion spring. Springs running along the horizontal tracks on both sides mean extension springs. Telling the dispatcher “two extension springs, one looks loose” changes which parts get loaded on the truck and which tools the tech brings to the door.
These aren’t busywork. They’re the difference between a 45-minute service call and a 90-minute one, and the savings are real. What they don’t do is put you in the position of handling the stored-energy components yourself. You’re reducing billable time without accepting the risk floor.
Tool Reality Check: What’s Already in Your Garage
One of the easiest ways to know whether a garage door repair is a reasonable DIY project is to look at what’s actually in your toolbox. Garage door repair, beyond maintenance tasks, requires tools most homes don’t own.
Here’s the standard professional tool list for a spring replacement:
- Two 18-inch winding bars of hardened steel. Not rebar, not screwdrivers, not a socket extension. These bars cost $20 to $40 and have exactly one job. If you don’t own them, you’d be buying them for one task.
- A torque wrench calibrated for the specific set-screw specs of your spring cones. Most homeowners own a socket set but not a torque wrench, and set screws that are over-torqued can crack the winding cone under load.
- A spring gauge and calipers to measure wire diameter, spring length, and inside diameter. Getting any of these measurements wrong means installing a spring that under-lifts or over-lifts the door, which destroys the balance and puts strain on the opener.
- Locking pliers or C-clamps to secure the door in the raised position while the spring is unwound, and to secure the torsion tube during the swap.
- A level and winding bar extension to verify the door is square before and after the work.
Compare that to the tool list for, say, weatherstripping replacement: a utility knife and a flathead screwdriver. Or for sensor alignment: a screwdriver and two minutes. The tool difference is the tell. Tasks that require specialized tools are specialized for a reason. The winding bar is not a convenience item. It’s a safety instrument that exists because the alternative is losing fingers.
In our experience across Fort Worth, from Arlington Heights down to Crowley, the homeowners who call us after attempting their own spring work almost always own a full socket set and a cordless drill. What they don’t own is a pair of winding bars, and they used a substitute. That’s the moment the job went from “possible” to “dangerous.”
Brand-Specific Repair Notes for Fort Worth Homes
Garage door openers and doors are not interchangeable. The repair procedure for a LiftMaster opener installed in 2015 is not the same as the procedure for a Genie opener from 2008, and a Clopay door with a low-headroom track system creates complications a standard door doesn’t have. Here’s what Fort Worth homeowners should know about the brands most common in our market.
LiftMaster and Chamberlain
These two brands share a parent company and a lot of internal parts. LiftMaster is sold primarily through professional installers, while Chamberlain is the retail version. The opener rails, logic boards, and gear assemblies are often interchangeable between equivalent models. The practical implication: if your LiftMaster opener from 2012 has a stripped gear, that’s a $20 part and an hour of labor. If the logic board has failed, replacement usually costs more than installing a new opener, and a professional can give you that cost comparison in five minutes after opening the unit.
Genie
Genie openers are common in Fort Worth homes built in the 2000s and early 2010s. The most frequent failure we see is the capacitor on the motor, which presents as a humming sound with no movement. It’s a cheap part but it’s wired to 120 volts, which puts it outside the safe DIY envelope for anyone not comfortable working inside an electrical panel. Genie also produced a line of screw-drive openers that require specific lubrication intervals; dry screw-drive rails cause premature motor wear.
Clopay Doors
Clopay is the door we most often recommend for Fort Worth replacements because their steel construction handles Texas heat without warping the way some vinyl-backed doors do. The brand-specific note for Clopay is the hinge and roller system: their nylon rollers are quieter than steel but wear faster, and the hinges use self-tapping screws that strip easily if removed with the wrong bit. When a Clopay door needs work, matching the replacement parts by model number matters more than on other brands because the panels vary in thickness between product lines.
For all three brands, the repair calculus is the same: the opener and the door itself are generally safe for informed DIY troubleshooting. The spring system attached to that door is not. A Chamberlain bracket or a LiftMaster photo-eye is a maintenance item. The torsion spring above it is not part of any brand’s homeowner-serviceable kit.
If your system is one of these and you’re unsure whether a symptom is safe to address yourself, the Brock Garage Doors Fort Worth home page has details on our approach, and our Garage Door Repair in Fort Worth guide walks through what a standard service call includes.
Common Mistakes to Avoid
- Using the wrong lubricant: WD-40 is a solvent, not a lubricant. Spraying it on hinges and rollers displaces the grease that’s actually doing the work, and the parts wear faster. Use white lithium grease on metal-to-metal contact points and silicone spray on nylon rollers. Avoid oil-based products that attract Fort Worth’s dust and grit.
- Replacing one spring instead of both: Torsion and extension springs are installed in pairs and wear in pairs. If one has broken, the other is at the end of its service life too. Replacing only the broken spring leaves the door unbalanced, as the old spring has lost tension, and the new spring does the majority of the lifting. The remaining old spring will fail soon, and you’ll pay for a second service call.
- Undoing the wrong bolts first: The most common amateur mistake on spring work is removing the set screws on the winding cone or loosening the center bracket before the tension is released. The spring doesn’t care that you meant to do it differently. Releasing tension is the first step, always, and the step where the injury happens if it’s done wrong.
- Ignoring the door’s balance after a repair: A correctly balanced door, when disengaged from the opener and raised by hand to the halfway point, should stay in place. If it falls or rises, the springs are set wrong. A door that falls on its own puts strain on the opener every cycle and will burn out a motor in months rather than years.
- Skipping the safety cable on extension springs: Older Fort Worth homes with extension springs sometimes lack the safety cable that should run through the spring’s center. If a spring breaks without that cable, the spring can fly across the garage with enough force to go through drywall. This is a $15 part installed in 20 minutes, but it has to be done correctly with the door in the right position.
- Trusting memory for the spring measurements: Wire gauge, spring length, and inside diameter all matter, and they’re all easy to misread in a dim garage. A spring that’s too weak won’t lift the door. A spring that’s too strong will slam it upward and overload the cables. Professional measurement errors are rare. Amateur errors are a daily occurrence.
- Taking the door off the track to “straighten it”: If the track is bent, the fix is not to hammer it straight with the door still attached. The track must be replaced and re-aligned to the door’s weight and spring balance. Attempting to bend it back while under load risks the door coming off the track entirely, which is a dangerous situation involving the full weight of the door plus the remaining spring tension.
When to Call a Professional
If your door has a broken torsion spring, frayed cables, or a track that’s bent beyond a surface scratch, make the call. If the door has come off its tracks entirely, do not attempt to move it. If the opener hums but the door doesn’t move, the problem is likely in the motor or the gear, which means 120-volt electrical work. If you have an extension spring without a safety cable running through it, that cable needs to be installed before the next failure, not after it. In all these cases, the risk is not proportional to the potential savings of doing it yourself.
Brock Garage Doors Fort Worth offers free estimates in Fort Worth – call (682) 730-8314. Our technicians are background-checked and uniformed, trained on LiftMaster, Chamberlain, Genie, Clopay, Amarr, Wayne Dalton, Craftsman, and Raynor systems, and every repair gets a written price before work starts and a written 365-day guarantee when it’s done. You don’t need to decide on the phone whether the job is worth doing professionally. Describe the symptom, and we’ll tell you what we’d do if it were our door, and what it would cost, before you commit to anything.
Frequently Asked Questions
No, replacing a torsion spring yourself is not safe, and the risk does not decrease with preparation. A residential torsion spring holds 90 to 160 foot-pounds of stored energy, and that energy releases instantly if a winding bar slips. The estimated 20,000 garage-door-related ER visits each year are predominantly spring incidents, and the injuries include severe lacerations, fractures, and finger amputations. Hire a professional for spring work and use DIY energy on maintenance tasks.
Professional torsion spring replacement in Fort Worth typically runs $280 to $450 including parts and labor, with most jobs completed in a single visit. Extension spring replacement runs $240 to $360. The price depends on spring wire gauge and whether both springs are replaced, which they should be. A professional quote should include the written price before work starts. Call (682) 730-8314 for an exact quote on your door.
You can, but you shouldn’t. Springs are installed in pairs and wear at roughly the same rate. When one breaks, the other is near the end of its fatigue life, and replacing only the broken one leaves you with an unbalanced door and an old spring doing a fraction of its original work. The old spring will fail soon, and you’ll pay for a second service call that could have been avoided by replacing both on the first visit. Most professional services, including ours, recommend and perform pair replacement as standard practice.
Lubricate hinges, rollers, and the opener chain with white lithium grease or silicone spray every 6 to 12 months. Clean the photo-eye sensor lenses when the door starts reversing unexpectedly. Replace the bottom weatherstripping when you can see daylight or feel drafts under the door. Program remotes and keypads using the instructions specific to your opener’s model number. Keep the tracks clear of debris and don’t use the tracks as a storage shelf. These tasks are safe, require no special tools, and extend the life of the door and opener.
Most garage door repair work, including spring replacement and opener swaps, does not require a permit in Fort Worth. Full door replacements or conversions from manual to automatic operation can trigger building code review depending on the scope. Repairs must still comply with the manufacturer’s installation specifications under the International Residential Code, and a door installed incorrectly can become a code violation discovered during a home inspection. A professional installation includes compliance as part of the job.
Check whether the photo-eye sensors have steady lights or are blinking, which indicates misalignment. Note whether the opener makes a grinding, humming, or clicking sound. Look above the door to identify whether you have torsion springs or extension springs. Record the opener’s model number from the label on the motor housing. Test whether the door stays in place when manually raised to the halfway point. These details let the dispatcher or technician diagnose faster and ensure the right parts are on the truck. Call (682) 730-8314 and describe what you found, and we’ll tell you what we’d do next and what it costs before any work begins.
The Bottom Line
The DIY-versus-professional decision for garage doors is a risk calculation disguised as a skill question. Lubrication, weatherstripping, sensor alignment, and remote programming are safe, sensible DIY tasks that save real money. Torsion spring replacement, cable repair, and track work carry a physical risk floor that no amount of YouTube preparation lowers. The spring doesn’t know you watched the video twice. The math on DIY savings gets thin exactly where the danger gets thick, and in Fort Worth, where professionals provide written pricing and written warranties, the professional route is the rational default for anything involving stored energy. Do the maintenance yourself. Call for the repair. For more guides & resources, visit our blog. The line is clear, and it’s drawn by physics, not by confidence.
Written by Wade Mercer, Owner at Brock Garage Doors Fort Worth, serving Fort Worth since 2001.
See the difference
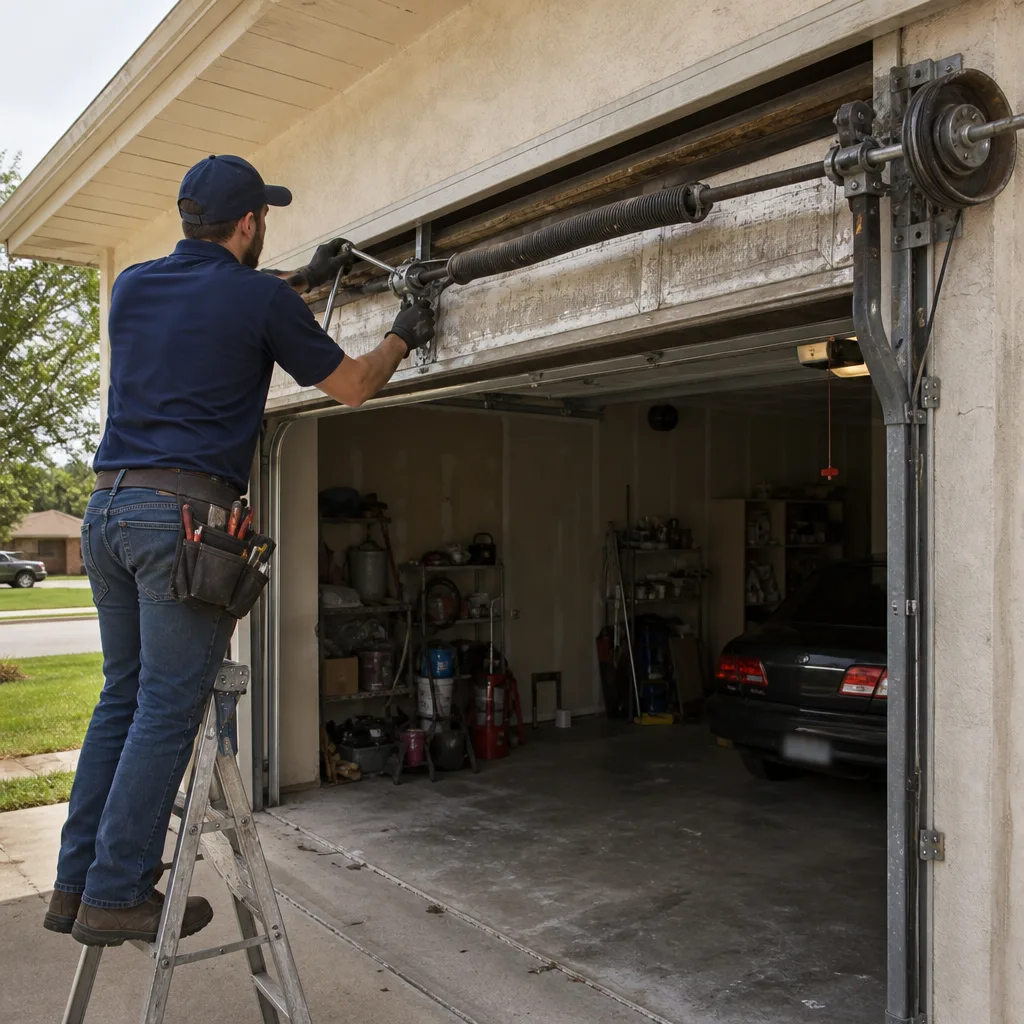 Before
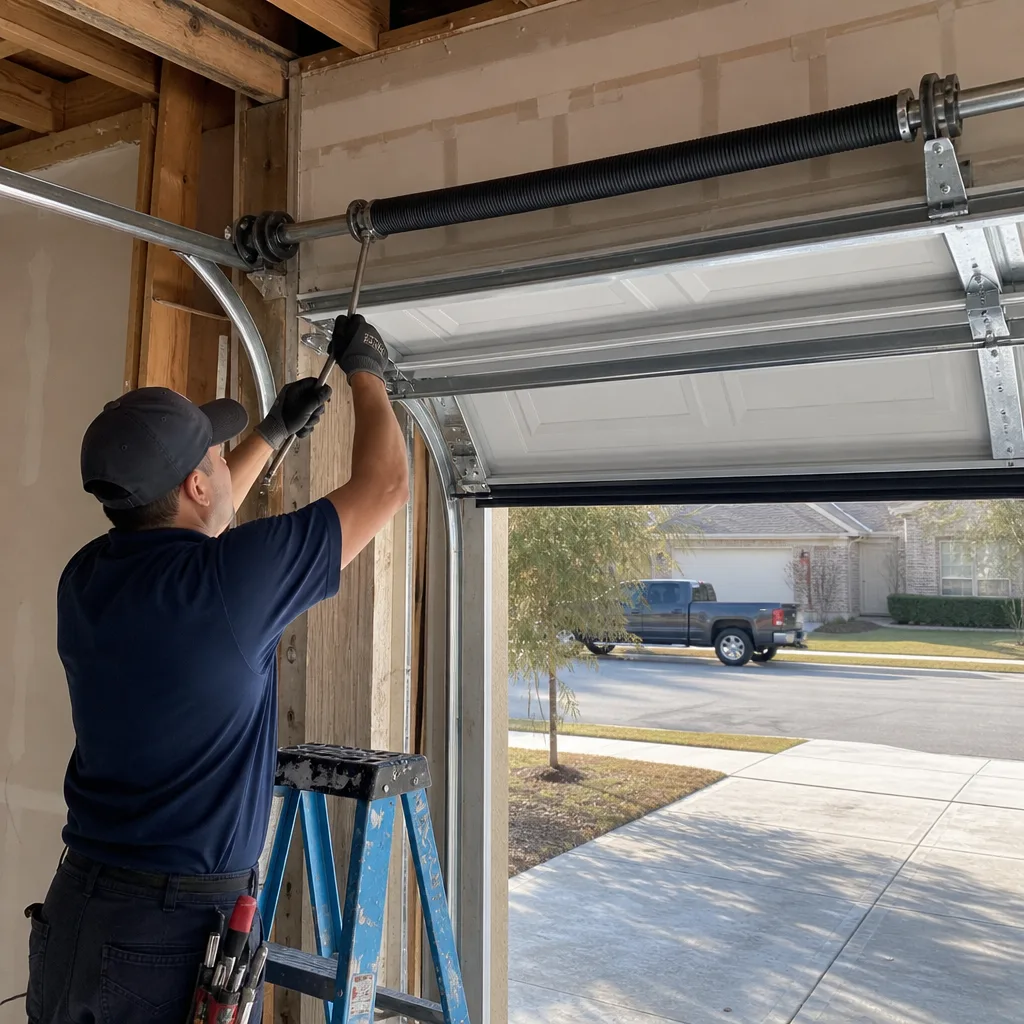 After
After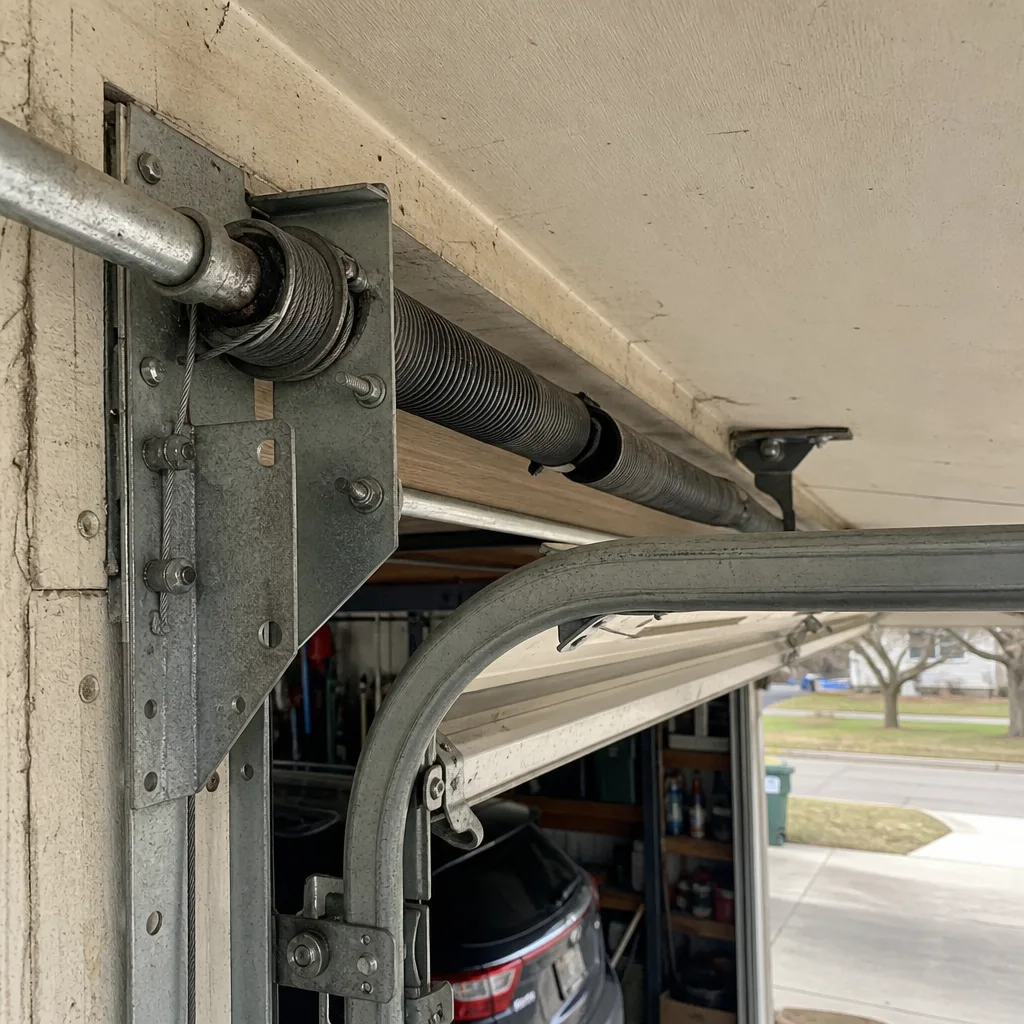 Before
 After
After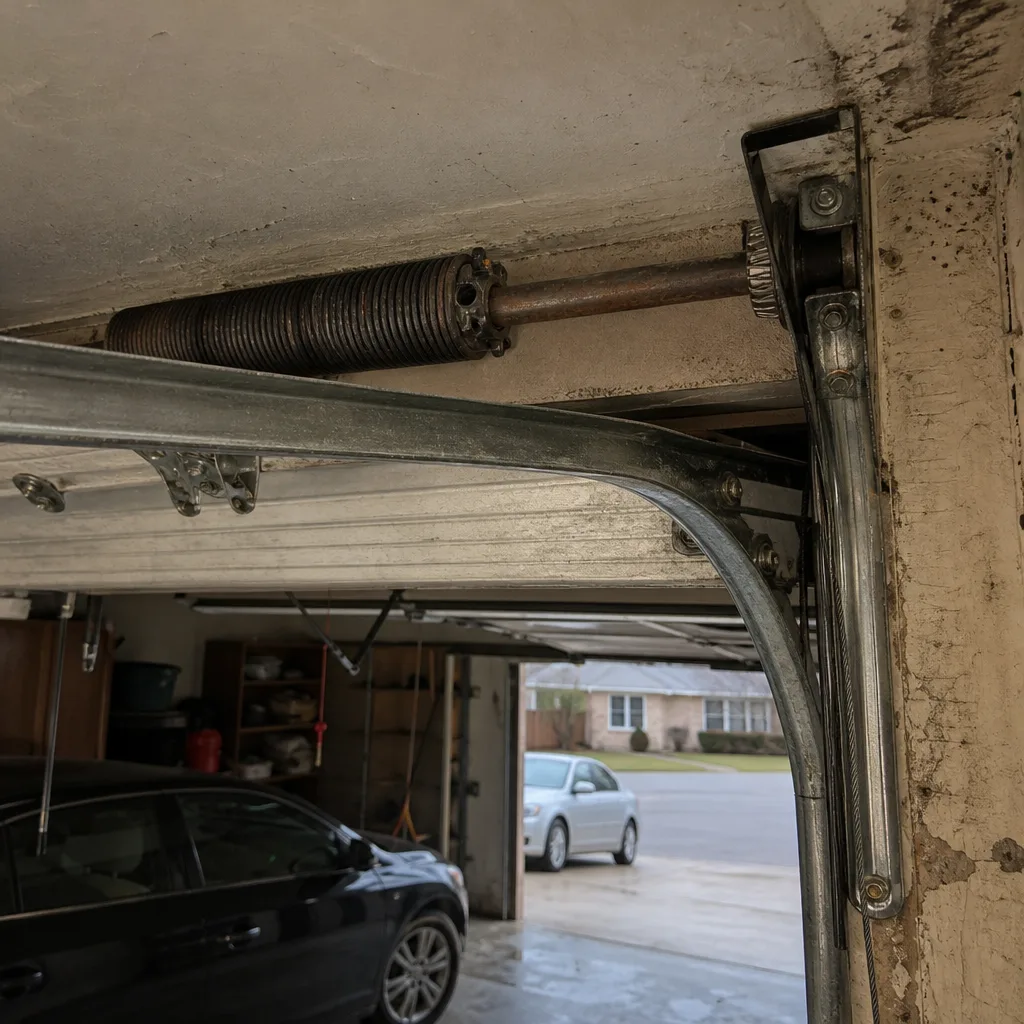 Before
 After
After